A functioning range igniter is essential for your Kenmore stove to work efficiently, ensuring that your cooking experience is hassle-free. If you’re experiencing issues such as the burners not lighting, weak flames, or a complete failure to ignite, it might be time for a Kenmore range igniter replacement. Igniters are responsible for creating the spark that ignites the gas, so when they malfunction, your stove can’t do its job.
Fortunately, replacing a faulty igniter is a manageable DIY project that can save you both time and money. In this guide, we’ll walk you through the process of replacing the igniter on your Kenmore range step by step. With the right tools and a little patience, you’ll have your stove working like new again.
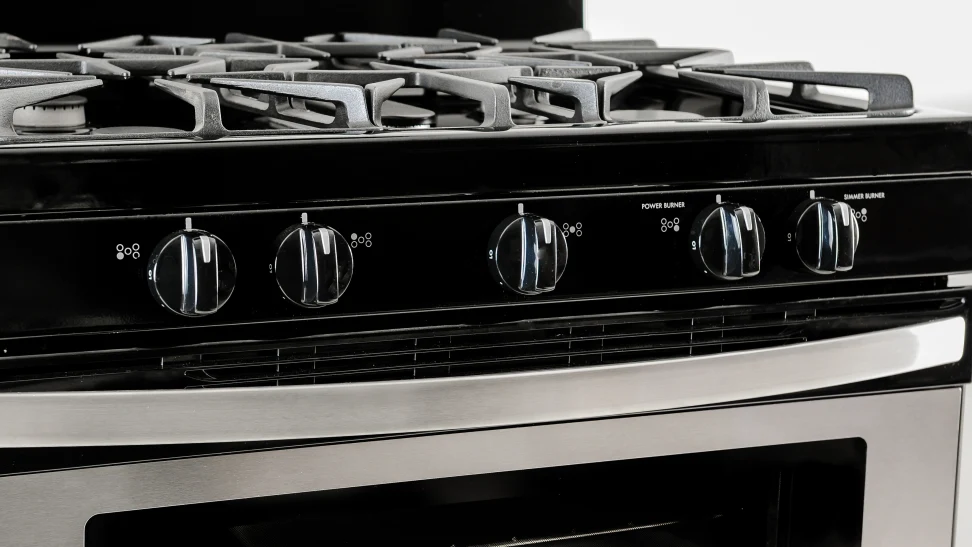
Common Signs You Need a Kenmore Range Igniter Replacement
Before diving into the replacement process, it’s important to identify the signs that indicate the igniter is faulty. Here are a few things to watch for:
- No Click or Spark – If the igniter doesn’t produce a click or spark when you turn on the burner, it’s most likely broken.
- Weak or Delayed Flame – If the flame is weak or takes too long to ignite, the igniter may be worn out.
- Constant Clicking – If the igniter continuously clicks without igniting the gas, it’s a clear sign that it’s not functioning properly.
- Gas Flow Without Ignition – You may smell gas without the burner lighting up, which is a safety hazard.
Once you’ve identified these signs, it’s time to replace the igniter. Here’s how you can do it yourself.
Tools You’ll Need for a Kenmore Range Igniter Replacement
Before you start, gather the following tools and materials:
- Replacement igniter (ensure it’s the correct model for your Kenmore range)
- Screwdrivers (flathead and Phillips)
- Socket wrench
- Multimeter (optional, for testing the igniter)
- Needle-nose pliers
- Gloves (for safety)
- Flashlight (for visibility in tight spaces)
Make sure you purchase a Kenmore range igniter replacement that matches your model. You can find the model number on the back or inside the door of your range. The right igniter ensures proper functionality, and using the wrong part may cause further issues.
Step-by-Step Guide to Replacing Your Kenmore Range Igniter
Step 1: Turn Off Power and Gas
- Safety first! Begin by turning off the gas supply to the stove. You can find the gas shutoff valve near the appliance. Additionally, disconnect the power by unplugging the stove or turning off the circuit breaker. This ensures that you won’t encounter any electrical or gas hazards while working.
Step 2: Remove the Burner Grate and the Old Igniter
- Next, remove the burner grates from the stovetop. If your Kenmore range has a metal burner cap, take that off as well. With the burners exposed, you’ll be able to access the igniter.
- Using a screwdriver, carefully remove the screws that hold the igniter in place. Depending on your model, the igniter may be attached to a bracket or directly to the burner. Once the screws are removed, gently lift the igniter from its mounting.
Step 3: Disconnect the Old Igniter
- Now that the igniter is free, you’ll need to disconnect the electrical wires. Be careful while doing this—use needle-nose pliers to pull the wire connectors off the igniter. Take note of how the wires are connected to the igniter, as you’ll need to replicate this when installing the new one.
Step 4: Install the New Igniter
- Take your Kenmore range igniter replacement and carefully connect the wires to the new igniter, making sure they are securely attached. The wires should click or snap into place, and you should feel confident that the connections are solid.
- Place the igniter into the same spot where the old one was mounted. Reattach any brackets or screws that were used to secure the igniter. Tighten everything firmly, but avoid over-tightening, which can damage the parts.
Step 5: Reassemble the Burner
- Once the igniter is installed, it’s time to reassemble the burner. Place the burner cap and grate back in their original positions. Ensure everything is seated properly before moving on.
Step 6: Test the New Igniter
- With the igniter replaced, turn on the gas and plug the stove back into its power source. Turn on the burner and check if the igniter produces a spark and lights the gas quickly. If everything works, you’ve successfully replaced the igniter!
Step 7: Troubleshooting (if necessary)
- If the igniter doesn’t spark, make sure all the connections are secure. You can also use a multimeter to check for continuity in the igniter. If the multimeter shows no continuity, it’s likely the igniter is faulty, and you’ll need to replace it again.
Why You Should Consider Professional Help
While replacing a Kenmore range igniter replacement is generally a straightforward task, it’s not for everyone. If you feel uncomfortable working with electrical parts or if the problem persists even after replacing the igniter, it’s a good idea to contact a professional repair service.
A technician can quickly diagnose and fix any underlying issues, saving you time and stress. If you’re unsure, don’t hesitate to seek help from experienced professionals.
Final Thoughts
A Kenmore range igniter replacement can be a quick and easy repair that restores your stovetop’s functionality. By following this simple guide, you can handle the replacement yourself and get your stove back in working order. With the right tools, a little patience, and a careful approach, you’ll be cooking again in no time.
If you prefer not to tackle the repair yourself or if you encounter any issues, Kenmore Repair is always here to help. Our team of experts can quickly resolve any stove issues you may be facing.
FAQs
1. How do I know if the igniter is the problem?
If your burner doesn’t light, produces a weak flame, or clicks constantly without igniting, it’s a sign the igniter may need replacing.
2. Can I replace the igniter on my own?
Yes, if you feel comfortable with basic tools and electrical connections, you can replace the igniter yourself by following the steps in this guide.
3. How long does a Kenmore range igniter typically last?
Igniters usually last between 5 to 10 years, but this can vary depending on usage and maintenance.
4. What should I do if my new igniter doesn’t work?
Double-check the wire connections, ensure the igniter is installed correctly, and test the continuity with a multimeter. If issues persist, it may be time to consult a professional.
For more helpful home appliance repair tips, check out our previous blog post about the Kenmore self-cleaning oven.